WordPress Plugin Development Primer
A primer for creating WordPress plugins.

What and Why?
WordPress has been around for about two decades now and is basically responsible for almost half of all websites on the internet at this point. While there are tons of available alternatives out there for content management systems, especially with the rise of headless CMS counterparts, it's quite certain that WordPress is not going to sunsetted anytime soon.
One of WordPress' killer feature by the time it took the internet is the Plugins ecosystem. Having the ability to extend and customize your content management system, making it more dynamic and robust, is one of the things that made WordPress so popular to a lot of digital users. From adding simple utility tools to your CMS to turning your website into an e-commerce shop, WordPress plugins got most of the existing use-cases covered. However, in case that the solution does not exist yet, it is worth mentioning that we, as web developers, can actually develop our own WordPress plugins.
The Plugin
The directory structure
sample-wordpress-plugin
|-- index.php- index.php - this is our initial file and where we will call the action hook that would register our plugin to the WordPress Core so it would show up in the Plugins page.
Assuming you already have a local WordPress instance, you can proceed to create your own plugin directory under /your-wordpress-directory/wp-content/plugins. Otherwise, you can refer to my other blog post on how to setup a local WordPress instance using Warden. Moving forward this guide, assume all files are within the plugin directory in the path /your-wordpress-directory/wp-content/plugins/sample-wordpress-plugin.
The Initial File
<?php
/**
 * PHP version 7
 * Plugin Name: Sample WordPress Plugin
 * Description: A sample WordPress plugin
 * Author: Mico
 * Author URI: https://meeco.dev
 * Version: 1.0.0
 * Requires at least: 5.3.2
 * Tested up to: 6.0.2
 */
index.php
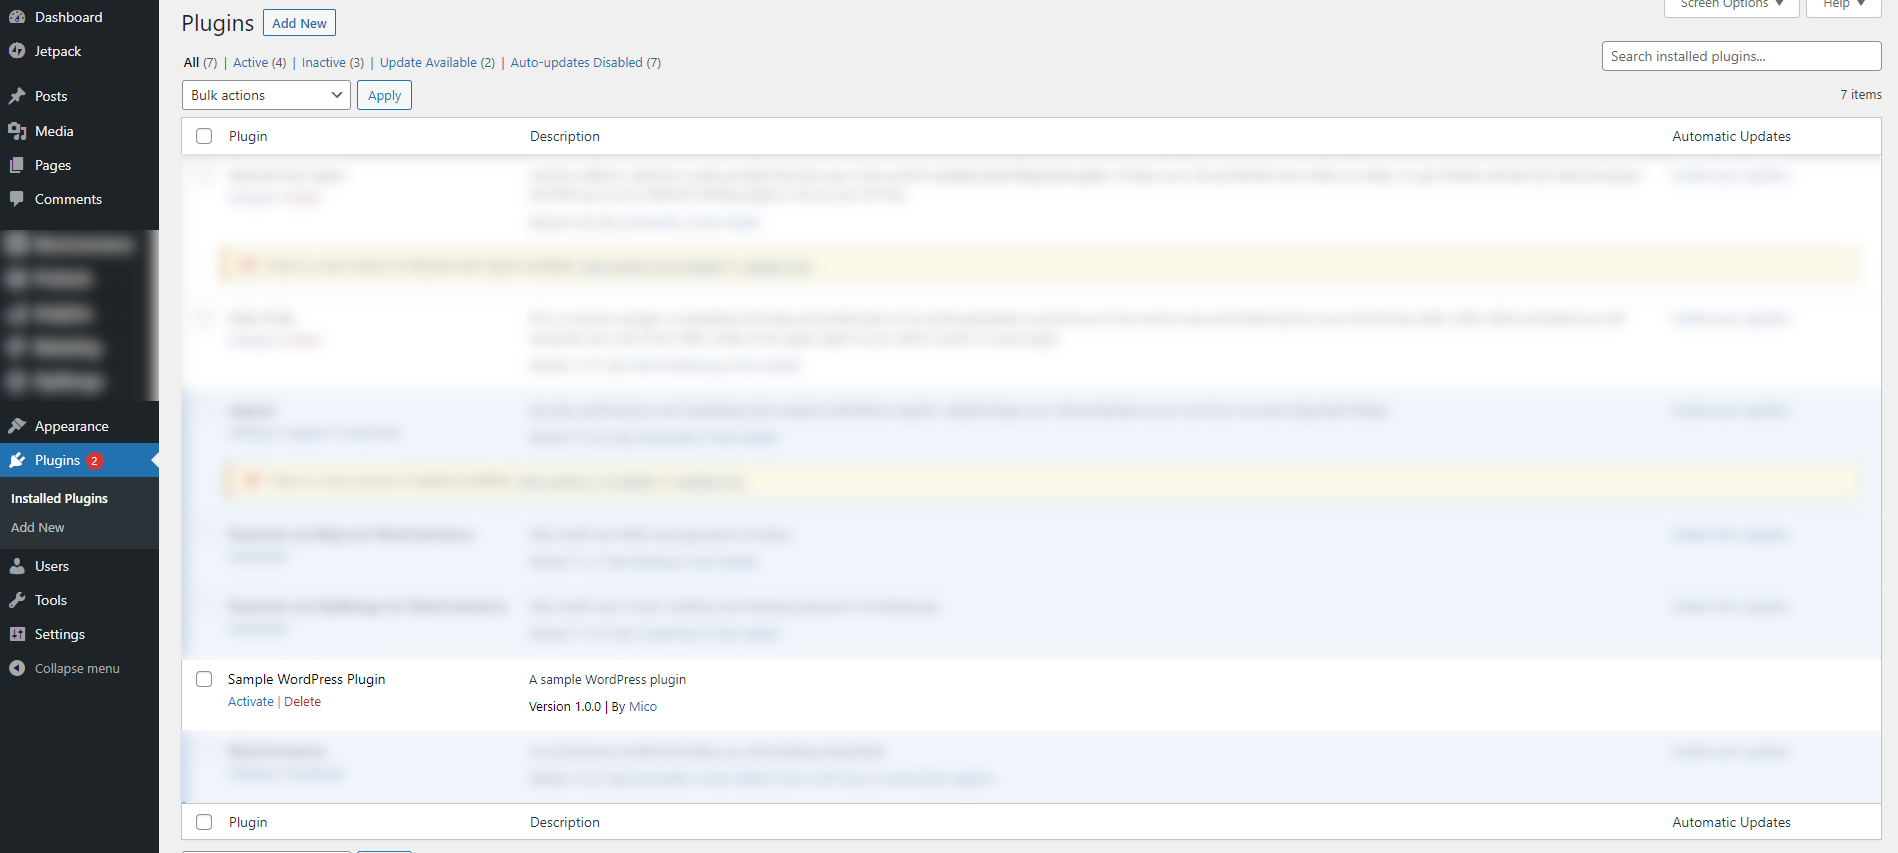
The comments at the start of the initial file is called the Plugin Header. The header is important as that is what determines the plugin details that would appear on the Plugins page in the WordPress dashboard (refer to image 1.a below). While the first few lines are pretty self-explanatory, there are some that we think it is best to define:
- Author URI - while optional, it's better to put your own personal or company URL here for easier contact reference and free marketing.
- Version - this is the plugin's current version, preferably using Semantic Versioning.
- Requires at least - the minimum WordPress version that your plugin is compatible with. This is very important as any published plugins are regularly checked for compatibility across WordPress versions.
- Tested up to - the latest version of WordPress that your plugin was tested to work with. Do note that this does not mean your plugin won't work on later versions of WordPress, this just means you tested your plugin's compatibility up to the value of this field.
For more details on what else you can put within this comment section, you can check the WordPress Header Requirements.
With just the header, and without any other issues, you should be able to see something like the image below.
Next Steps
While the plugin literally does nothing right now other than merely registering itself in a WordPress instance's loaded plugins, as a developer, you can now start to decide what to do from here. Below are some additional guides based on this primer.
- Create a payment plugin for WooCommerce
- Create a custom shortcode plugin
- Publish your plugin to WordPress Plugins public repository;